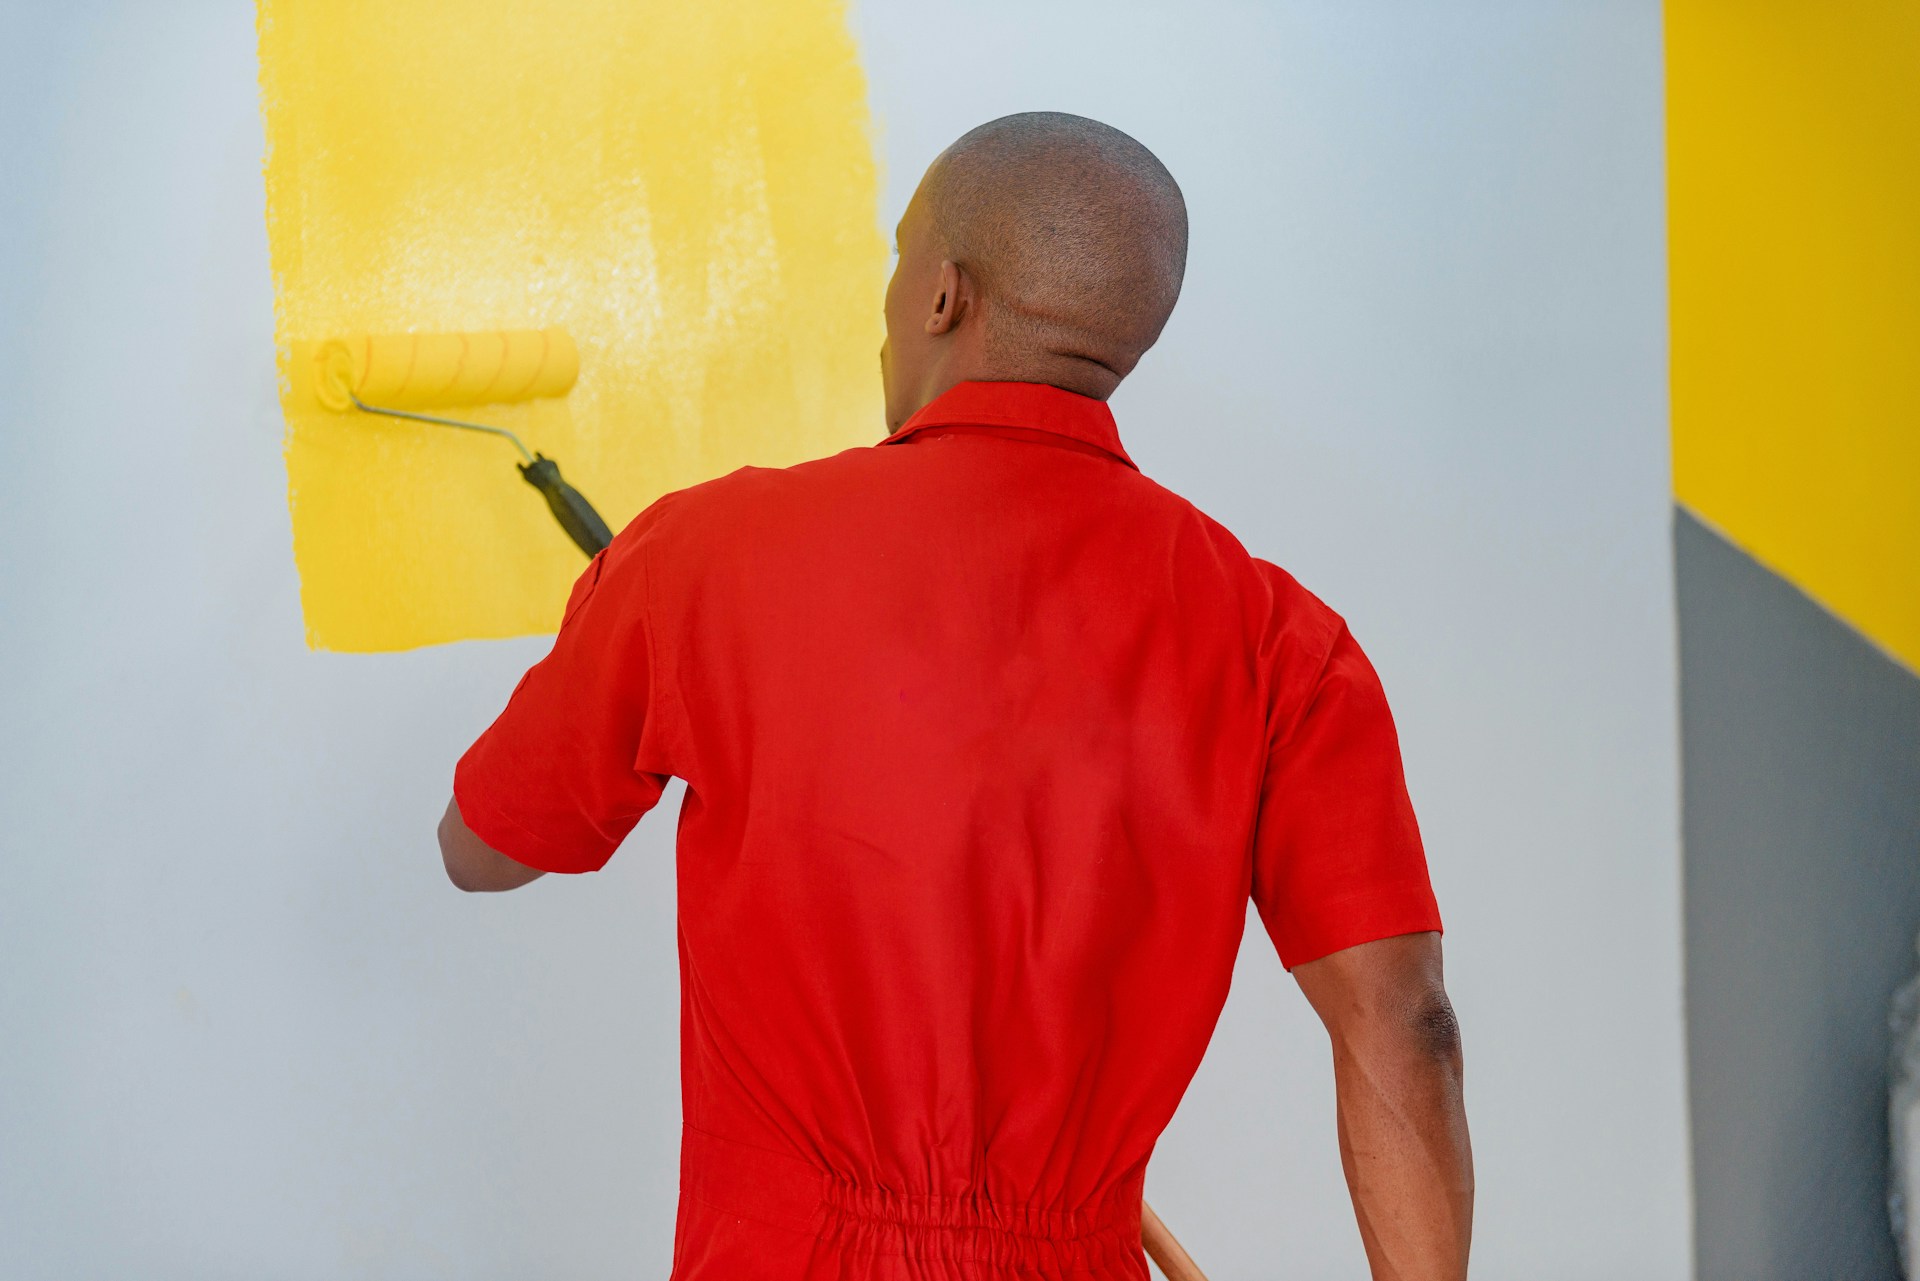
Painting the interior of your home can be a fun and rewarding project. A fresh coat of paint can completely transform the look and feel of your space. However, to ensure the process goes smoothly, it’s essential to plan and prepare correctly. Without proper preparation, a few small mistakes can turn your project into a stressful experience.
We believe that with the right tips and a bit of organization, anyone can achieve a professional-looking result. From getting your space ready and gathering the necessary tools to following a step-by-step process and avoiding common pitfalls, we are here to guide you through it.
Understanding the steps involved in interior painting will help you stay organized and achieve beautiful, lasting results. With a clear plan in hand, you can tackle your painting project with confidence, knowing that your hard work will pay off in a stunning room transformation. Let’s dive into these tips to help make your next interior painting project as smooth and successful as possible.
Preparing Your Space for Painting
Before you even open a can of paint, it’s crucial to properly prepare your space. Start by moving all the furniture out of the room if possible. If not, push everything to the center and cover it with plastic or old sheets to protect it from splatters. Next, take down any wall decorations, such as pictures and mirrors. Removing electrical outlet covers and switch plates is also essential; this will give you a more professional finish and protect these items from being painted accidentally.
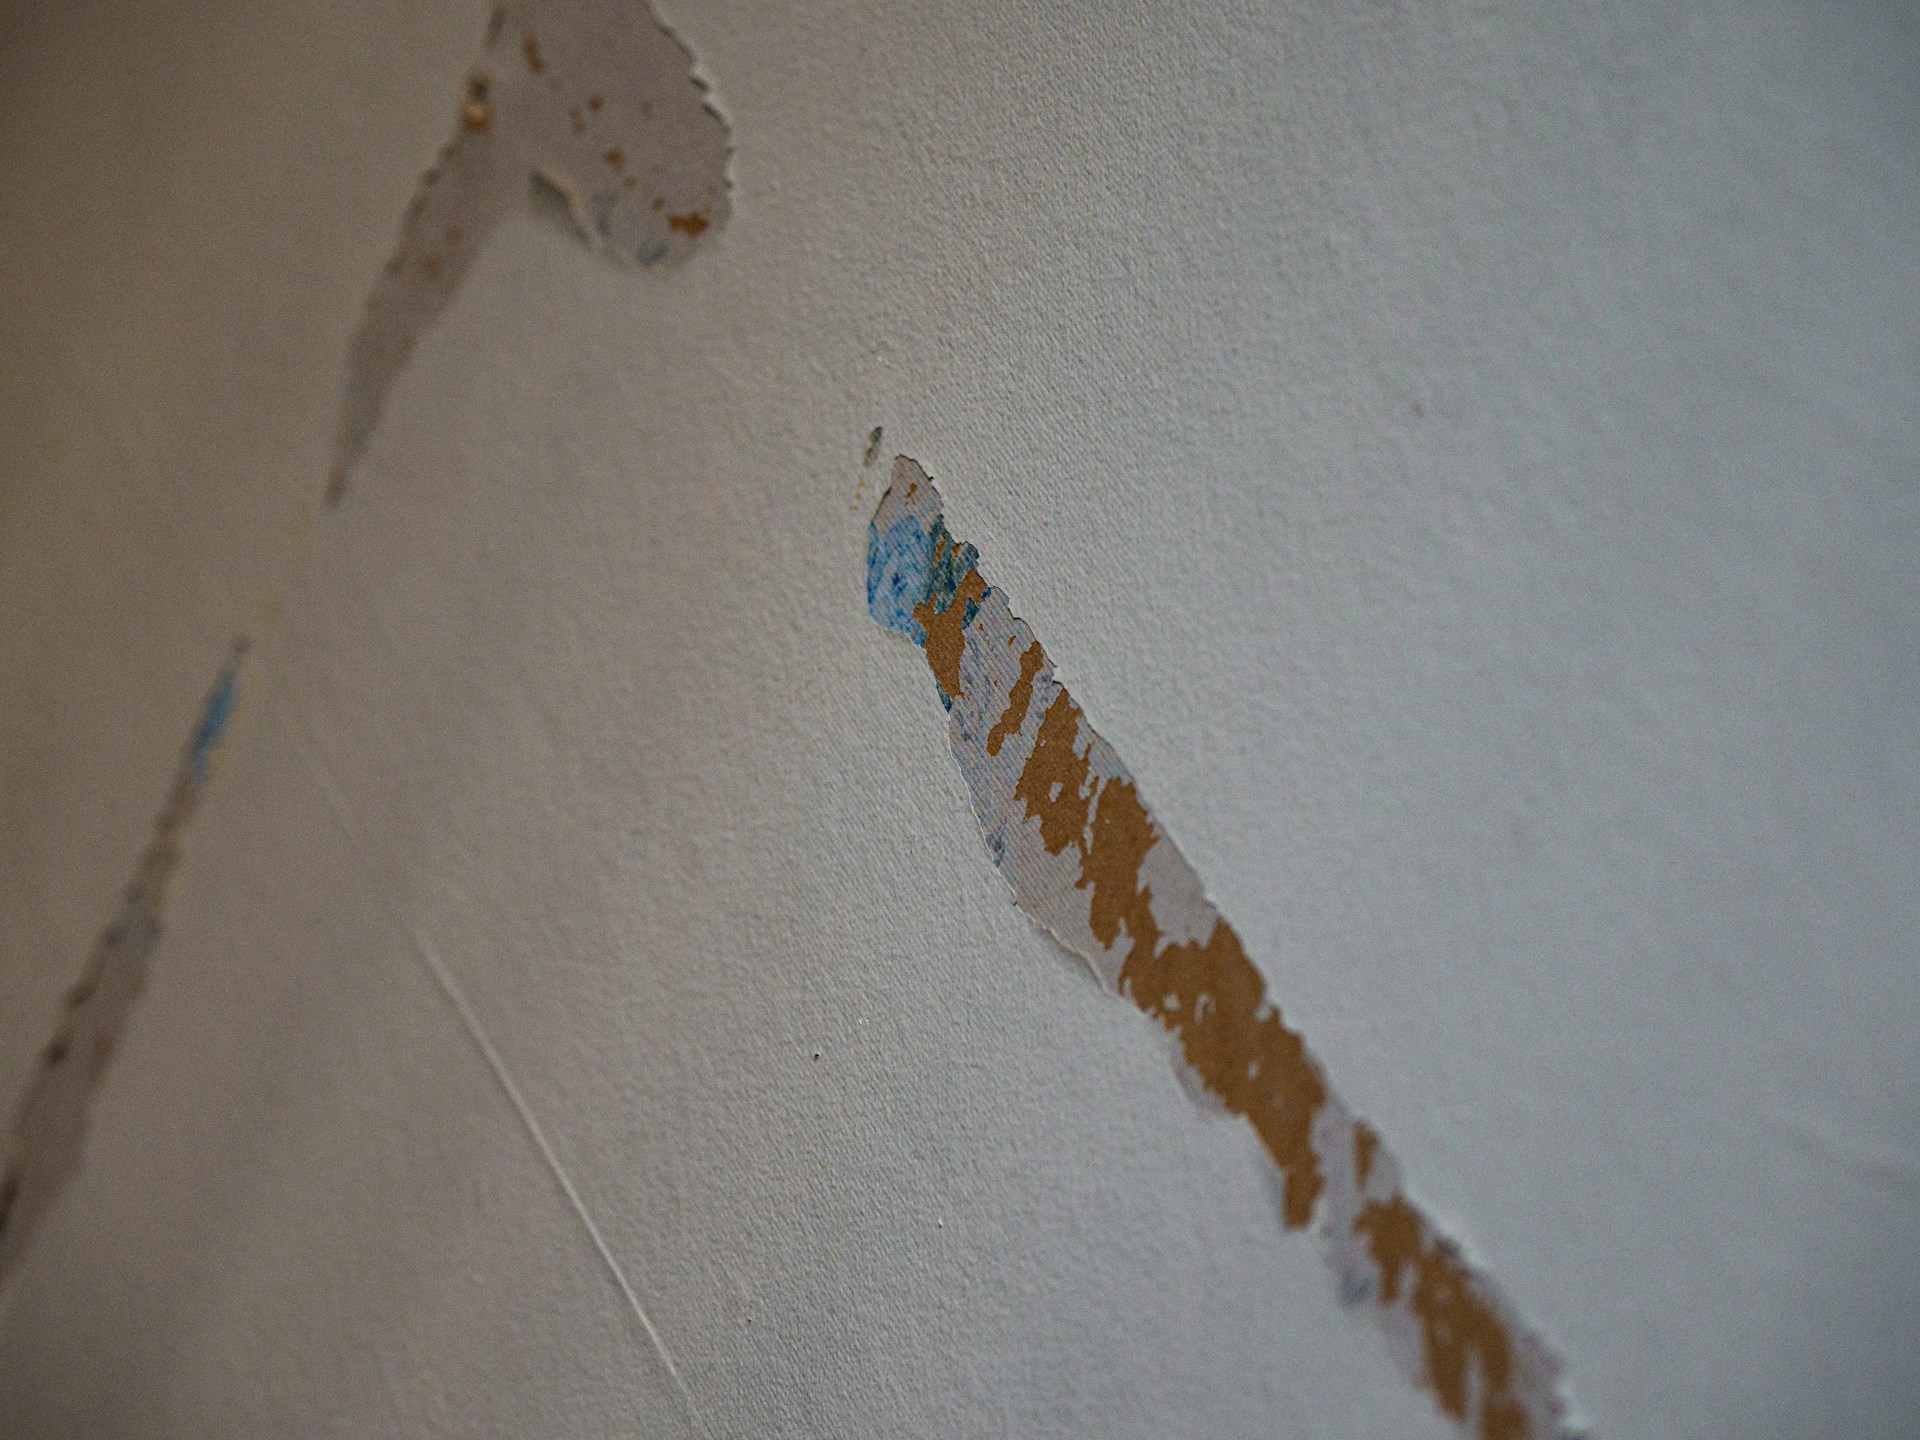
Clean the walls where you plan to paint. Dust, grime, and even the oils from our hands can prevent paint from adhering properly. Depending on the surface, you can use a mild detergent solution to wipe down the walls. Once clean, inspect the walls for any damages, such as cracks or holes. Use spackle to fill in these imperfections, sand them down once dry, and then wash away the dust. This ensures that your final paint job will be smooth and beautiful.
Essential Tools and Materials for a Successful Paint Job
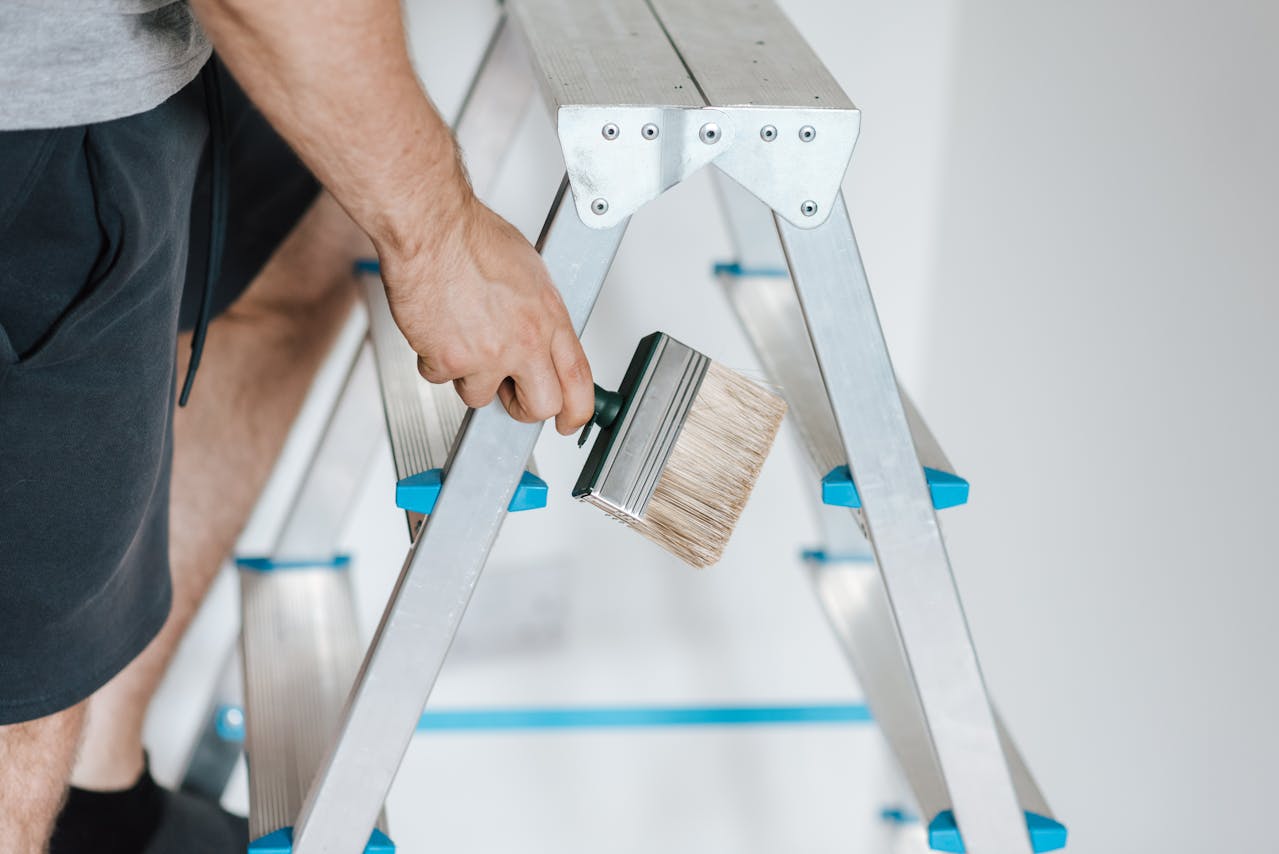
Having the right tools and materials can make all the difference in the outcome of your painting project. First, you’ll need a variety of brushes and rollers. Different sizes and types are suitable for different parts of the job. For instance, smaller brushes can help you cut in around the edges, while larger rollers make it easier to cover wide surfaces quickly.
Aside from brushes and rollers, you’ll need painter’s tape to mask off areas you don’t want to be painted, such as trim and baseboards. Drop cloths or plastic sheeting will protect your floors and furniture. A paint tray and liners will make it easier to manage your paint, and a ladder or step stool is essential for reaching higher spots. Don’t forget a good stir stick to mix your paint thoroughly before starting. Having all these tools on hand before you begin will help the project go more smoothly and efficiently.
With your space prepped and your tools ready, you are well on your way to a successful painting experience.
Routine Maintenance Tips to Prolong Paint Life
Routine maintenance is key to keeping your exterior paint looking fresh and long-lasting. One of the simplest yet most effective tasks is regular cleaning. We recommend washing the exterior of your home at least once a year to remove dirt, grime, and mildew. This can be done easily with a garden hose and a soft-bristle brush or a pressure washer set on a low setting to avoid damaging the paint.
Another important aspect of maintenance is inspecting your home for any signs of damage. Look for cracks, peeling, or fading paint, as well as areas where water might be pooling. Address these issues promptly to prevent them from worsening and protect the underlying surfaces. Touch up any problem areas with matching paint to maintain a uniform appearance and extend the overall life of your paint job.
Common Mistakes to Avoid for Long-Lasting Paint
Avoiding common mistakes during the painting process can significantly impact how long your exterior paint lasts. One mistake we often see is painting over dirty or damp surfaces. It’s important to ensure that your walls are completely clean and dry before applying any paint, as moisture can cause the paint to peel or blister.
Another common error is skipping the primer. Primer creates a strong base for the paint to adhere to and helps cover up flaws, ensuring a smooth finish. Without primer, the paint may not adhere well and can start to peel or bubble over time. Lastly, applying paint too thickly or too quickly can lead to uneven drying and cracking. We always recommend applying thin, even coats and allowing sufficient drying time between each layer to achieve the best results.
Conclusion
Maintaining your home’s exterior paint involves a series of well-considered steps that start with proper preparation and careful application, followed by routine maintenance and avoiding common mistakes. By following these guidelines, you can significantly extend the life of your exterior paint and keep your home looking its best for years to come. Proper surface preparation, consistent maintenance, and avoiding common pitfalls are all essential elements in ensuring the longevity of your paint job.
We at Alan’s House Painting are dedicated to providing you with the highest quality painting solutions. If you’re ready to refresh your home’s exterior or need expert advice on maintaining your current paint job, contact us today. Let our interior house painters at Alan’s House Painting help you protect and beautify your home with our professional services. Together, we can ensure your home remains stunning and well-protected against the elements.


