Getting your home ready for painting is an important step that can greatly impact the final results. Proper preparation ensures that the paint goes on smoothly and adheres well, giving you a beautiful, long-lasting finish. Whether you’re painting a single room or your entire house, taking the time to prep properly can save you time and frustration later on. Read on to follow the essential steps we will share for great results.
Gather Necessary Supplies and Tools
Before we start painting, it’s important to gather all the supplies and tools needed for the job. Having everything ready ensures that we can work efficiently without unnecessary interruptions.
Here’s a list of essential items:
1. Paint and Primer: Choose the right type and color for each room. Primer helps the paint adhere better and covers any imperfections.
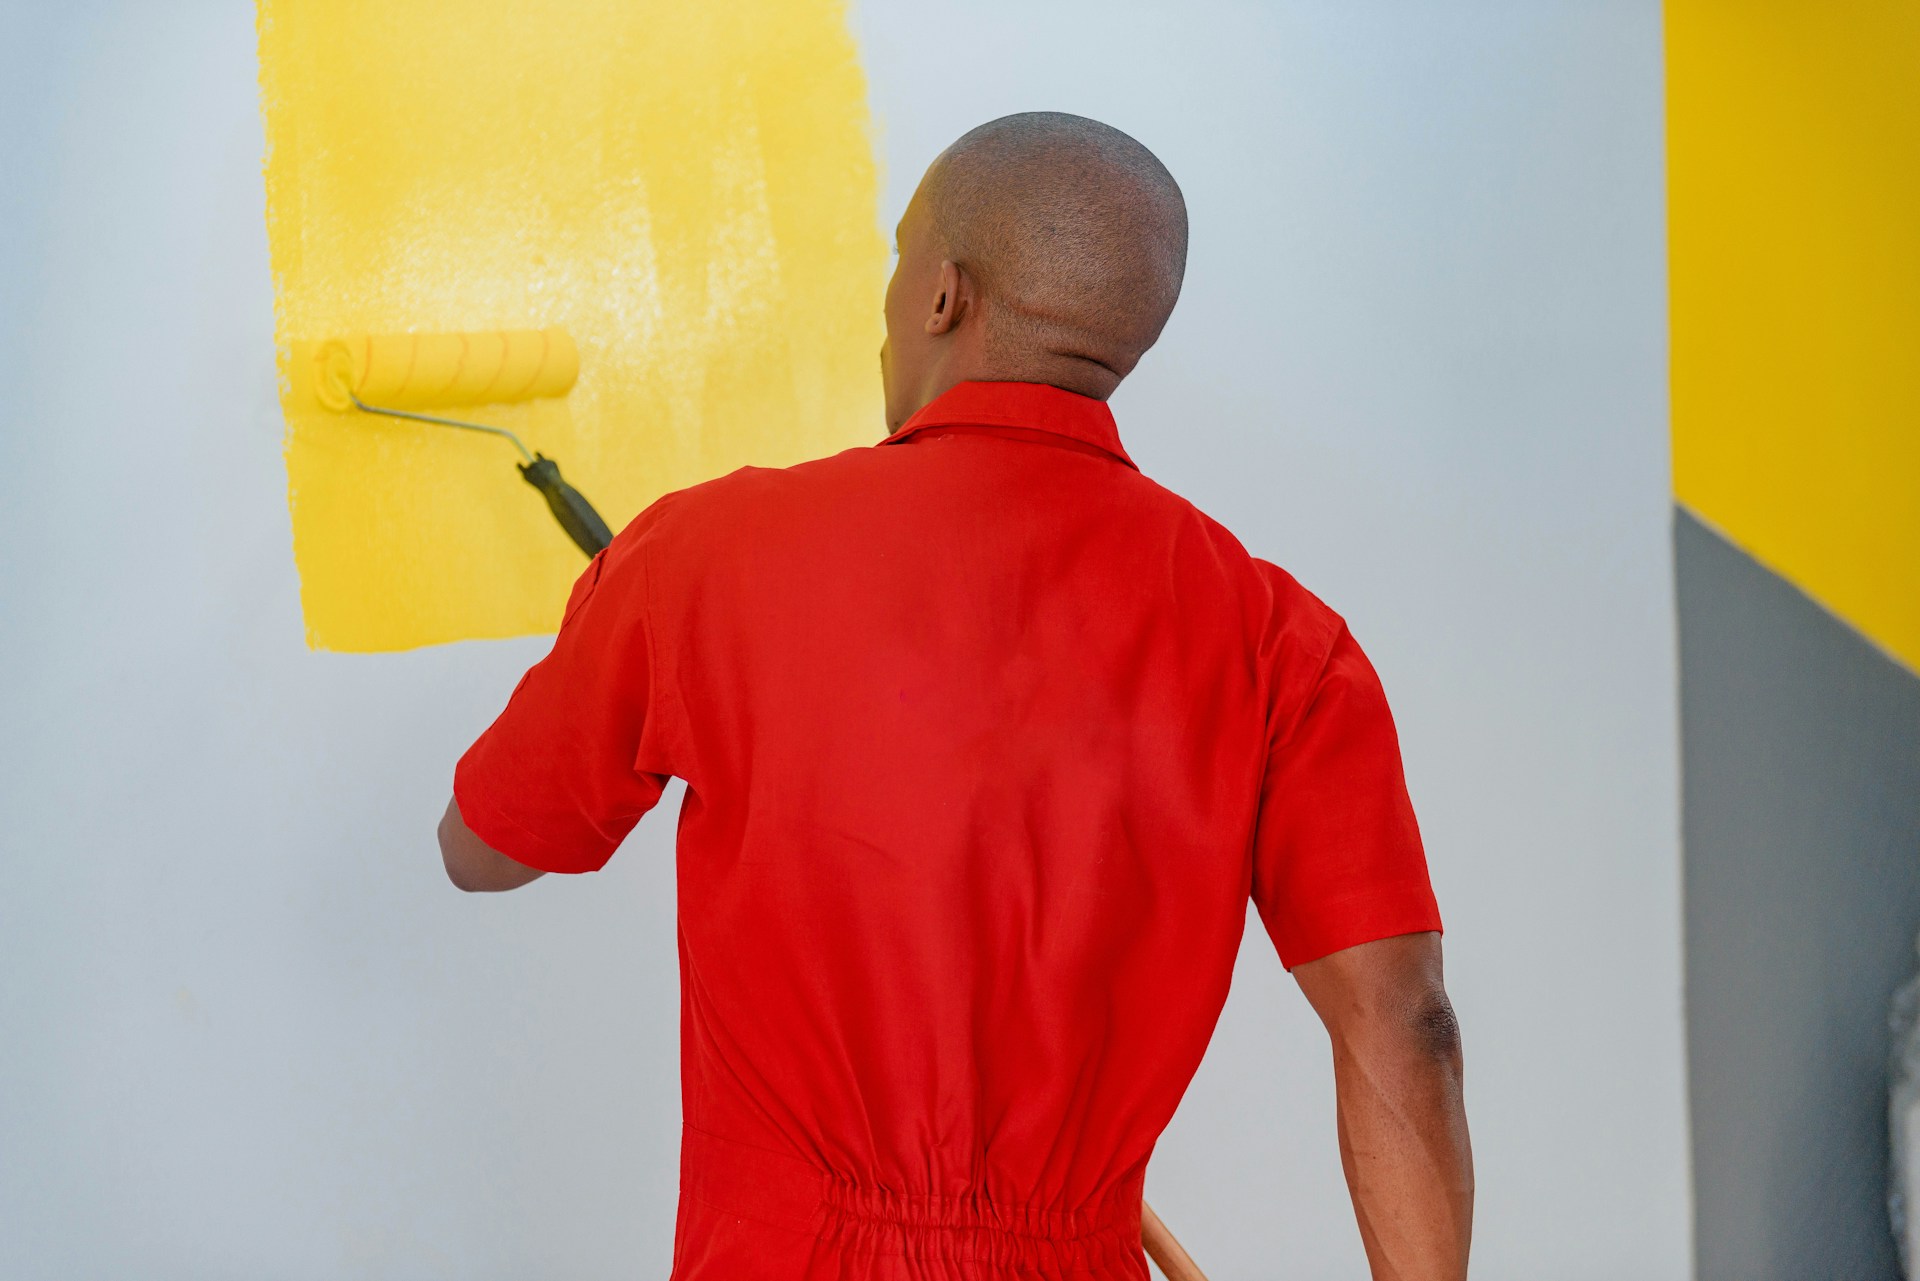
2. Paintbrushes and Rollers: Different sizes and types are useful for various surfaces and details. A high-quality brush gives a smoother finish.
3. Painter’s Tape: This helps to create clean edges and prevent paint from getting on areas you don’t want to be painted.
4. Drop Cloths or Plastic Sheets: Protect the floor and furniture from paint splatters and spills.
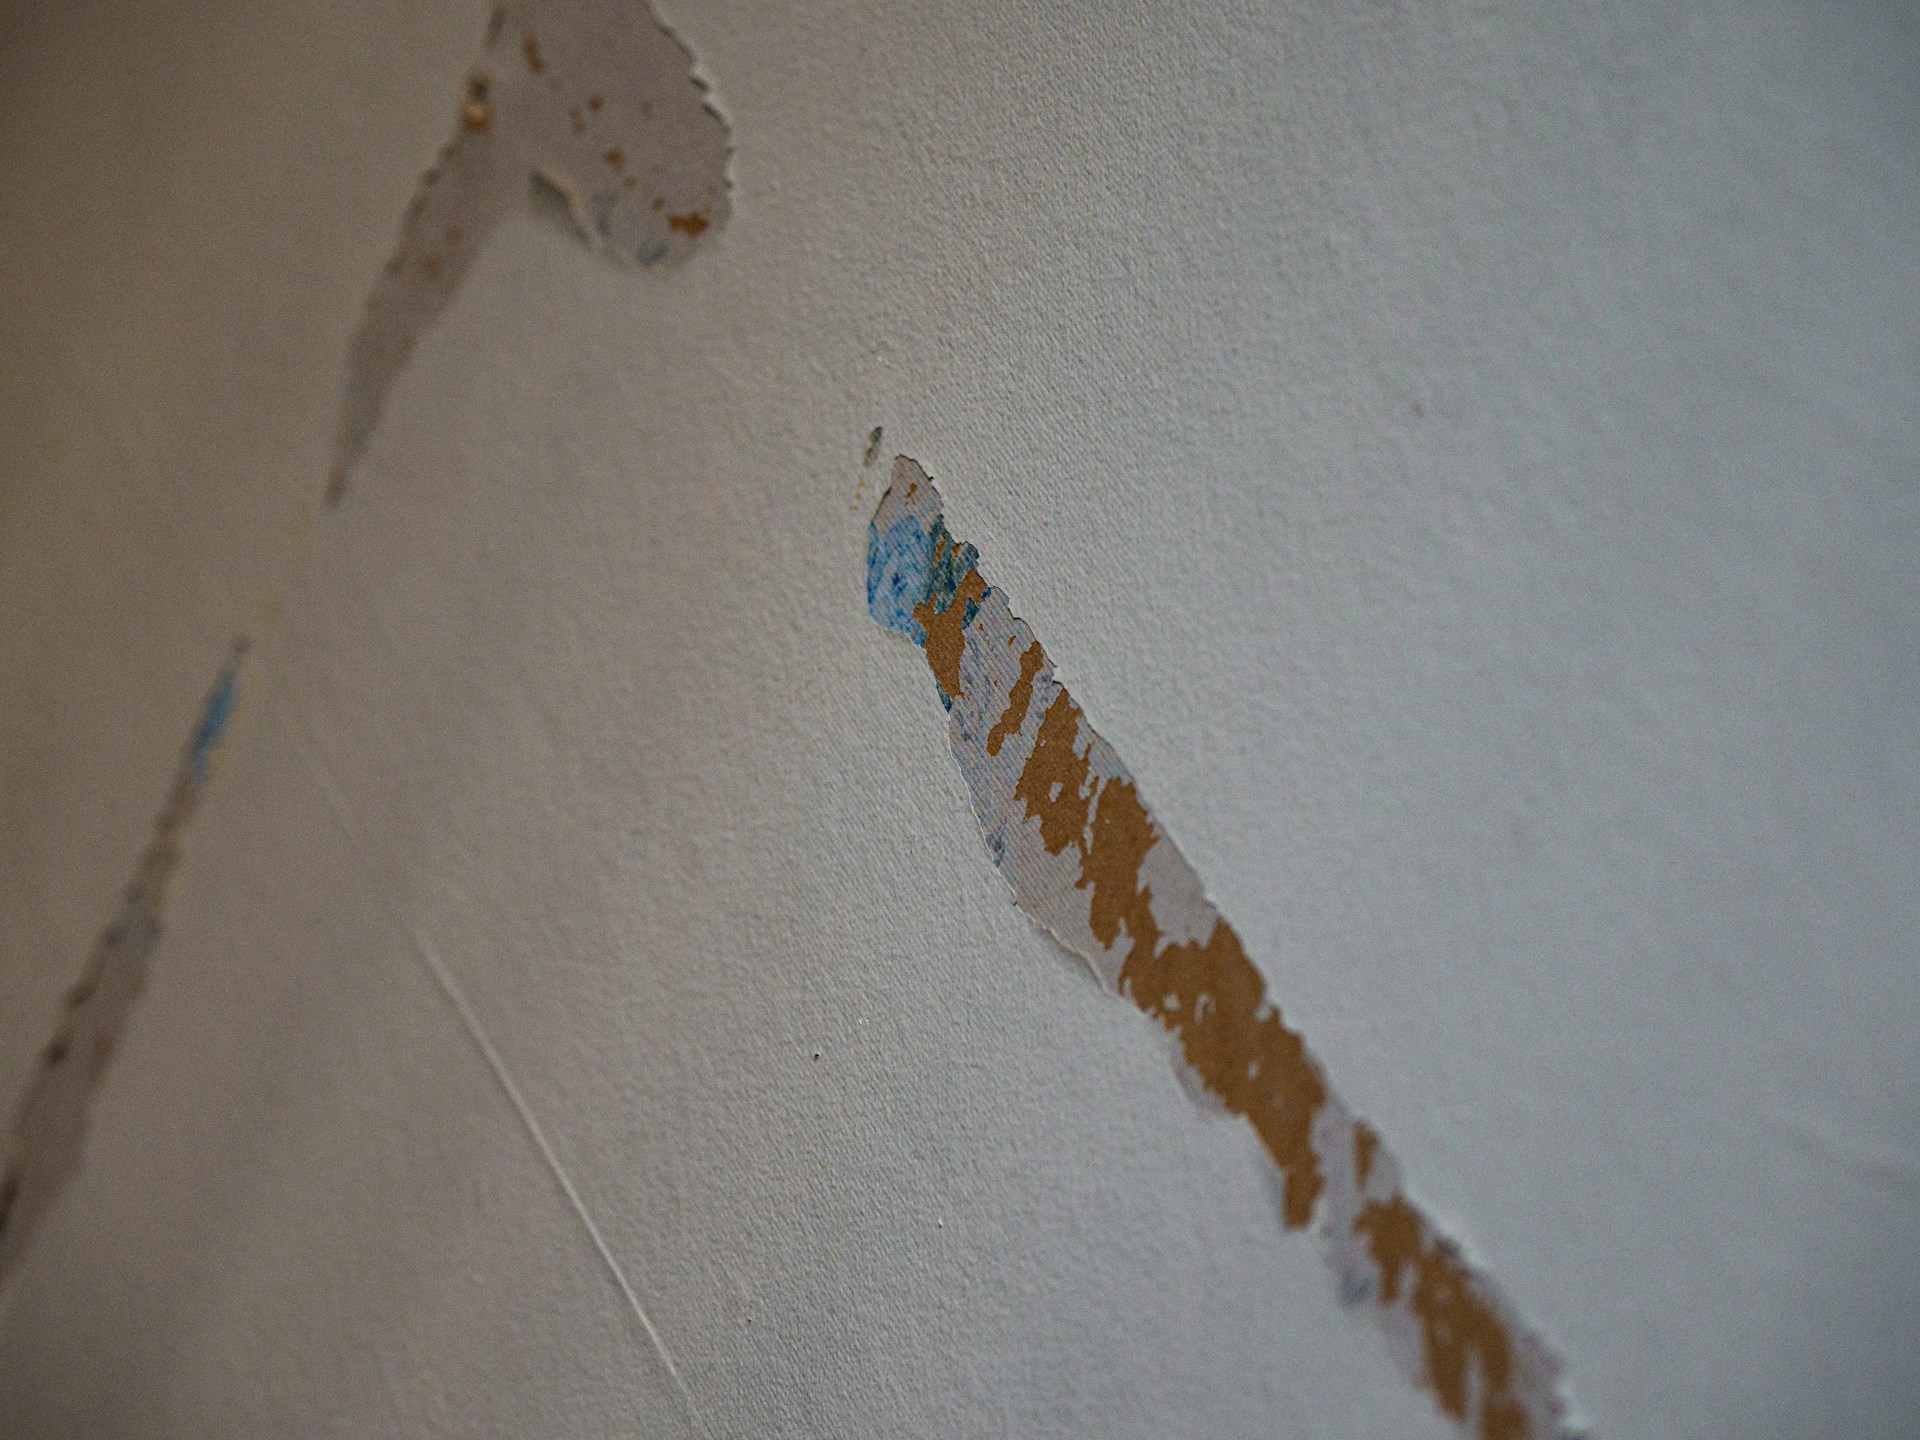
5. Sandpaper and Scrapers: These are necessary for smoothing surfaces and removing old, flaking paint.
6. Patching Compound and Putty Knife: Fill in holes and cracks to create a smooth surface for painting.
7. Buckets and Trays: Use these for mixing and holding paint as you work.
8. Stir Sticks: Ensure that the paint is well-mixed for an even color.
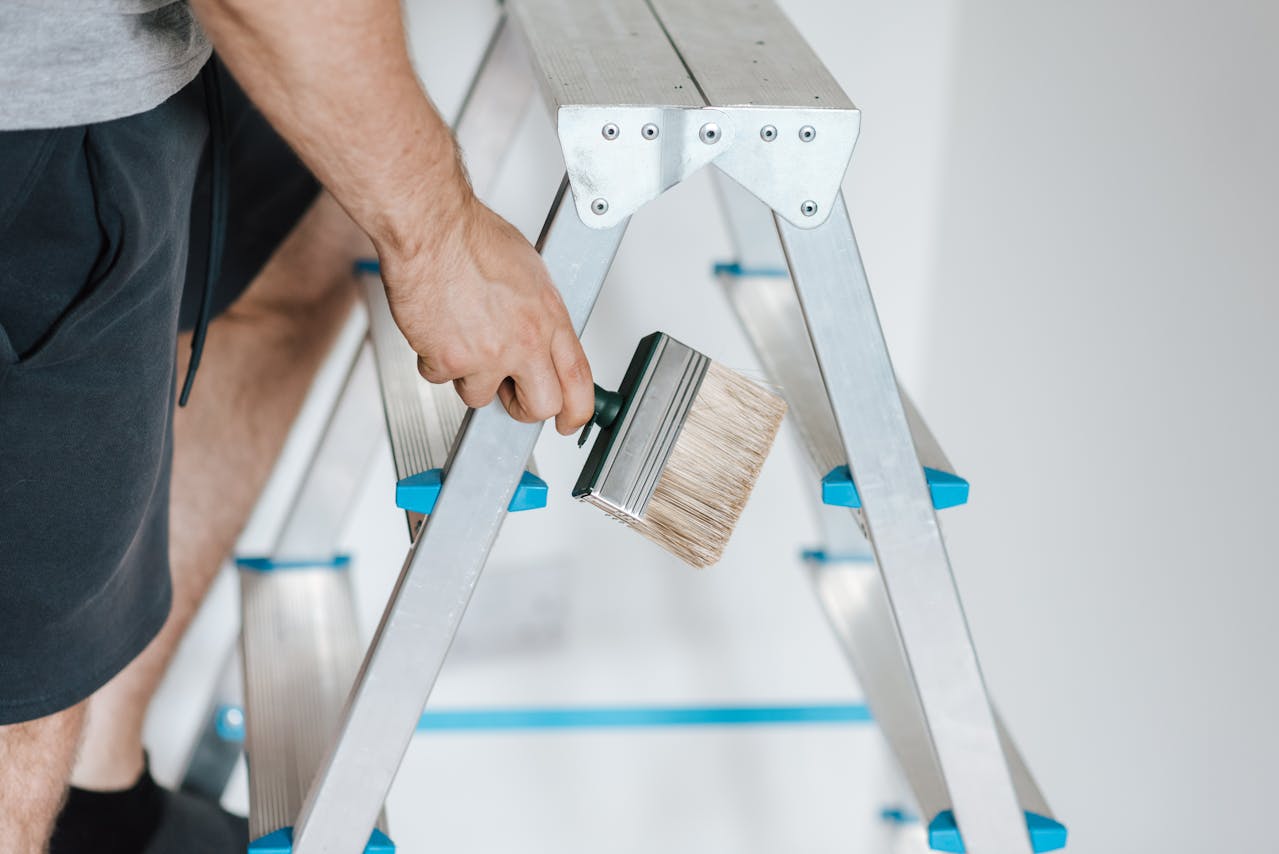
9. Ladders and Step Stools: Reach high areas safely and comfortably.
Having all these items on hand makes the painting process smoother and more efficient. It prevents delays and helps ensure we achieve the best possible results.
Clean and Repair Surfaces
Preparing the surfaces for painting is a crucial step. Clean and smooth walls allow the paint to adhere properly, resulting in a more even and long-lasting finish.
First, we need to clean the walls thoroughly. Dust, dirt, and grease can prevent the paint from sticking well. Use a mild detergent and water to wash the walls, and let them dry completely. For kitchens and bathrooms, pay extra attention to areas with grease or soap residue.
Next, inspect the walls for any damage. Holes, cracks, and dents should be repaired before painting. Use a patching compound to fill in any imperfections. Apply it with a putty knife and smooth it out, ensuring it is level with the rest of the wall. Once it’s dry, sand it lightly to create a smooth surface.
Sanding is another important step. Lightly sanding the walls helps to remove any rough spots and provides a better surface for the paint to stick to. Always use fine-grit sandpaper and move in gentle, circular motions.
Protect Furniture and Floors
Before we start painting, it’s essential to protect our furniture and floors from accidental paint splatters and spills. Taking this step can save us a lot of cleanup time and prevent damage to our belongings.
First, move as much furniture as possible out of the room. For the items that are too large or heavy to move, push them to the center of the room and cover them with drop cloths or plastic sheets. Make sure the covers are securely in place to avoid shifting during the painting process.
Next, lay down drop cloths or plastic sheets on the floor. This is especially important for carpets and hardwood floors, as paint spills can be difficult or even impossible to remove completely. For added protection, use painter’s tape to secure the edges of the drop cloths along the baseboards.
Don’t forget to cover smaller items and fixtures. Light switches, electrical outlets, and door handles can be protected with painter’s tape or special covers. This prevents paint from getting on these surfaces and makes for a cleaner finish.
Prime the Walls for Better Results
Priming the walls is a critical step that shouldn’t be skipped. Primer creates a smooth base for the paint, helps it adhere better, and enhances its final appearance. By using primer, we can ensure that the paint colors are vibrant and even.
First, choose the right type of primer for your walls. For most indoor projects, a general-purpose primer works well. If you’re dealing with specific issues like stains, high humidity, or previously painted dark colors, select a primer designed to address those conditions.
Once you have the primer, start by applying it to the walls with a brush for the edges and corners. Then, use a roller to cover larger areas. It’s important to apply the primer evenly, ensuring that no spots are missed. Let the primer dry completely according to the manufacturer’s instructions before moving on to the paint.
For some walls, especially those with high-gloss paint or significant stains, a second coat of primer may be necessary. This ensures that the paint will have a smooth and flawless finish.
Priming the walls properly sets the stage for a successful painting project. It helps the topcoat adhere well, leading to a durable and beautiful outcome that’s worth the extra effort.
Conclusion
Properly preparing your home for painting is key to achieving a professional-looking and long-lasting finish. By gathering all necessary supplies, cleaning and repairing surfaces, protecting furniture and floors, and priming the walls, we set ourselves up for success. Each of these steps plays a significant role in the overall quality and appearance of the final paint job.
If you’re ready to transform your home with a fresh coat of paint, we are here to help. At Alan’s House Painting, we offer top-tier Davis painting services tailored to your needs throughout Sacramento and nearby towns. Reach out to us today to get started on your painting project. Let’s make your home look its best!


