
Painting trim and baseboards might seem like a small task, but it packs a big punch in a room’s overall appearance. Crisp, well-painted trim can make your space look clean and polished, providing the perfect backdrop for walls and décor. Tackling this job requires a bit of patience and some know-how to get that professional finish.
Before you dive in, it’s important to plan your approach. Proper preparation is key to achieving a smooth and durable surface. Understanding the materials and techniques involved will help you avoid common pitfalls and frustration. By preparing your work area and selecting the right tools and paint, you set the stage for success.
Whether you’re freshening up an old paint job or trying your hand at this for the first time, this guide will walk you through the steps to paint trim and baseboards like a pro. With a little guidance and the right tips, you’ll create beautiful, lasting results that truly elevate your home’s aesthetic.
Preparing Your Work Area
Proper preparation is crucial to achieving a professional finish when painting trim and baseboards. This process begins with a thorough cleaning. Dirt, dust, and grease can prevent paint from adhering smoothly, so wipe down the trim with a damp cloth and mild detergent. Allow it to dry completely before proceeding.
Next, protect your surrounding areas to ensure a clean paint job. Use painter’s tape to cover the edges where the trim meets the wall and floor. This tape creates crisp lines and prevents accidental smudges. Make sure the tape is applied straight and pressed down firmly to stop any paint from seeping underneath.
Gather all necessary tools and materials before you start. Here’s what you’ll need:
– High-quality paintbrushes (angled brushes work best for trim)
– Painter’s tape
– Drop cloths to protect flooring
– Sandpaper or sanding sponge for smoothing surfaces
– A damp cloth for cleaning
– Primer (if needed)
Laying out a drop cloth or plastic sheeting is essential to protect your floors from paint drips and splatters. With everything prepared and organized, you’re set up for a smooth painting process. Attention to detail at this stage pays off with less hassle and better results.
Choosing the Right Paint and Tools
Choosing the right paint is vital for both appearance and durability. When selecting paint for trim and baseboards, consider using a semi-gloss or high-gloss finish. These finishes are not only more durable but also easier to clean, making them ideal for areas that get frequent contact.
Color choice, while more personal, should generally complement the existing room decor. Classic white or off-white tones are popular for a clean, timeless look and tend to make spaces feel brighter.
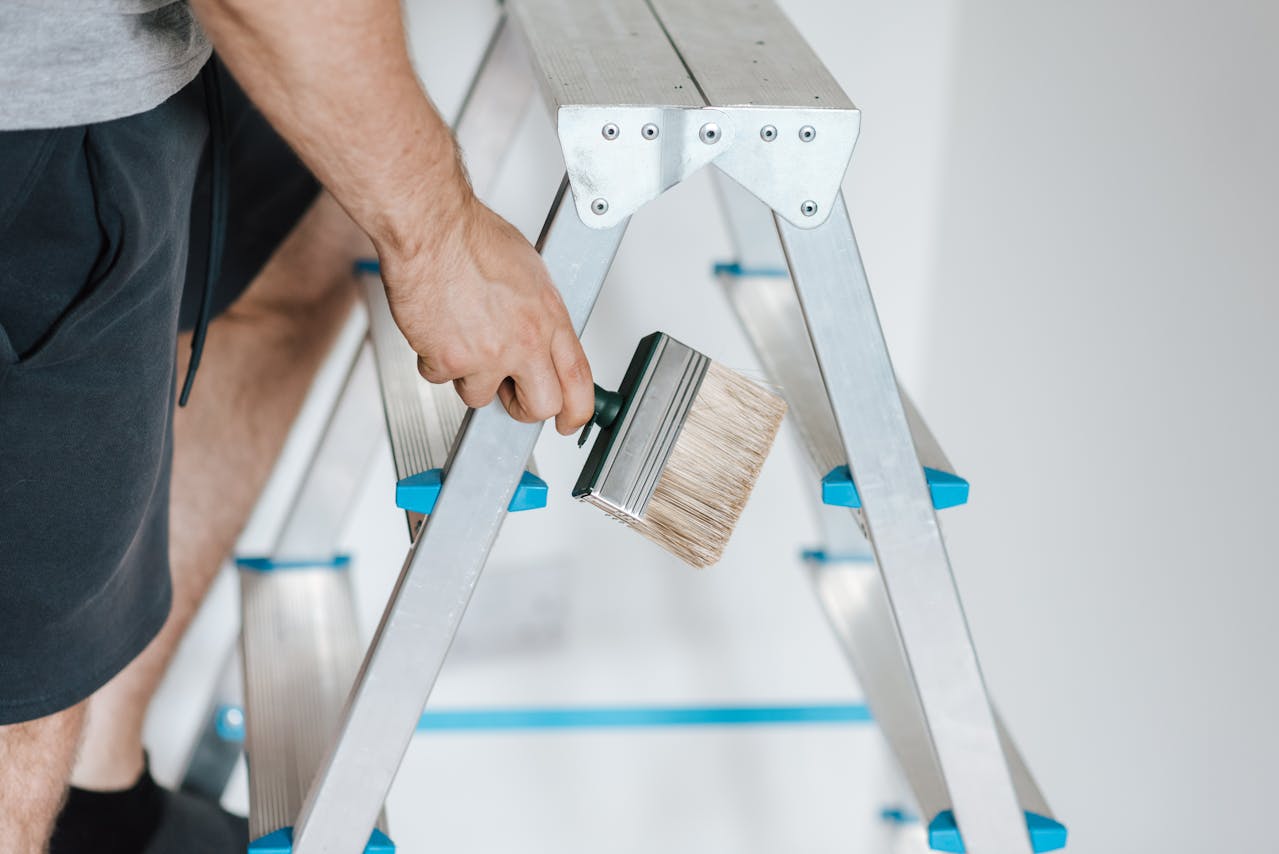
Alongside paint, the tools you use play a crucial role in achieving professional results. For trim, opt for high-quality nylon or polyester brushes. An angled sash brush of about 2 inches is perfect for control and precision, especially around corners and edges. It’s designed to hold more paint and provides a smooth application, reducing the number of strokes needed.
Consider using small foam rollers for larger, flat trim areas. They offer a quick application and minimize brush marks. Avoid using old or low-quality tools that might shed bristles or leave uneven textures. Investing in good tools doesn’t just make the job easier; it enhances the final look of your painted trim and baseboards.
Mastering Painting Techniques
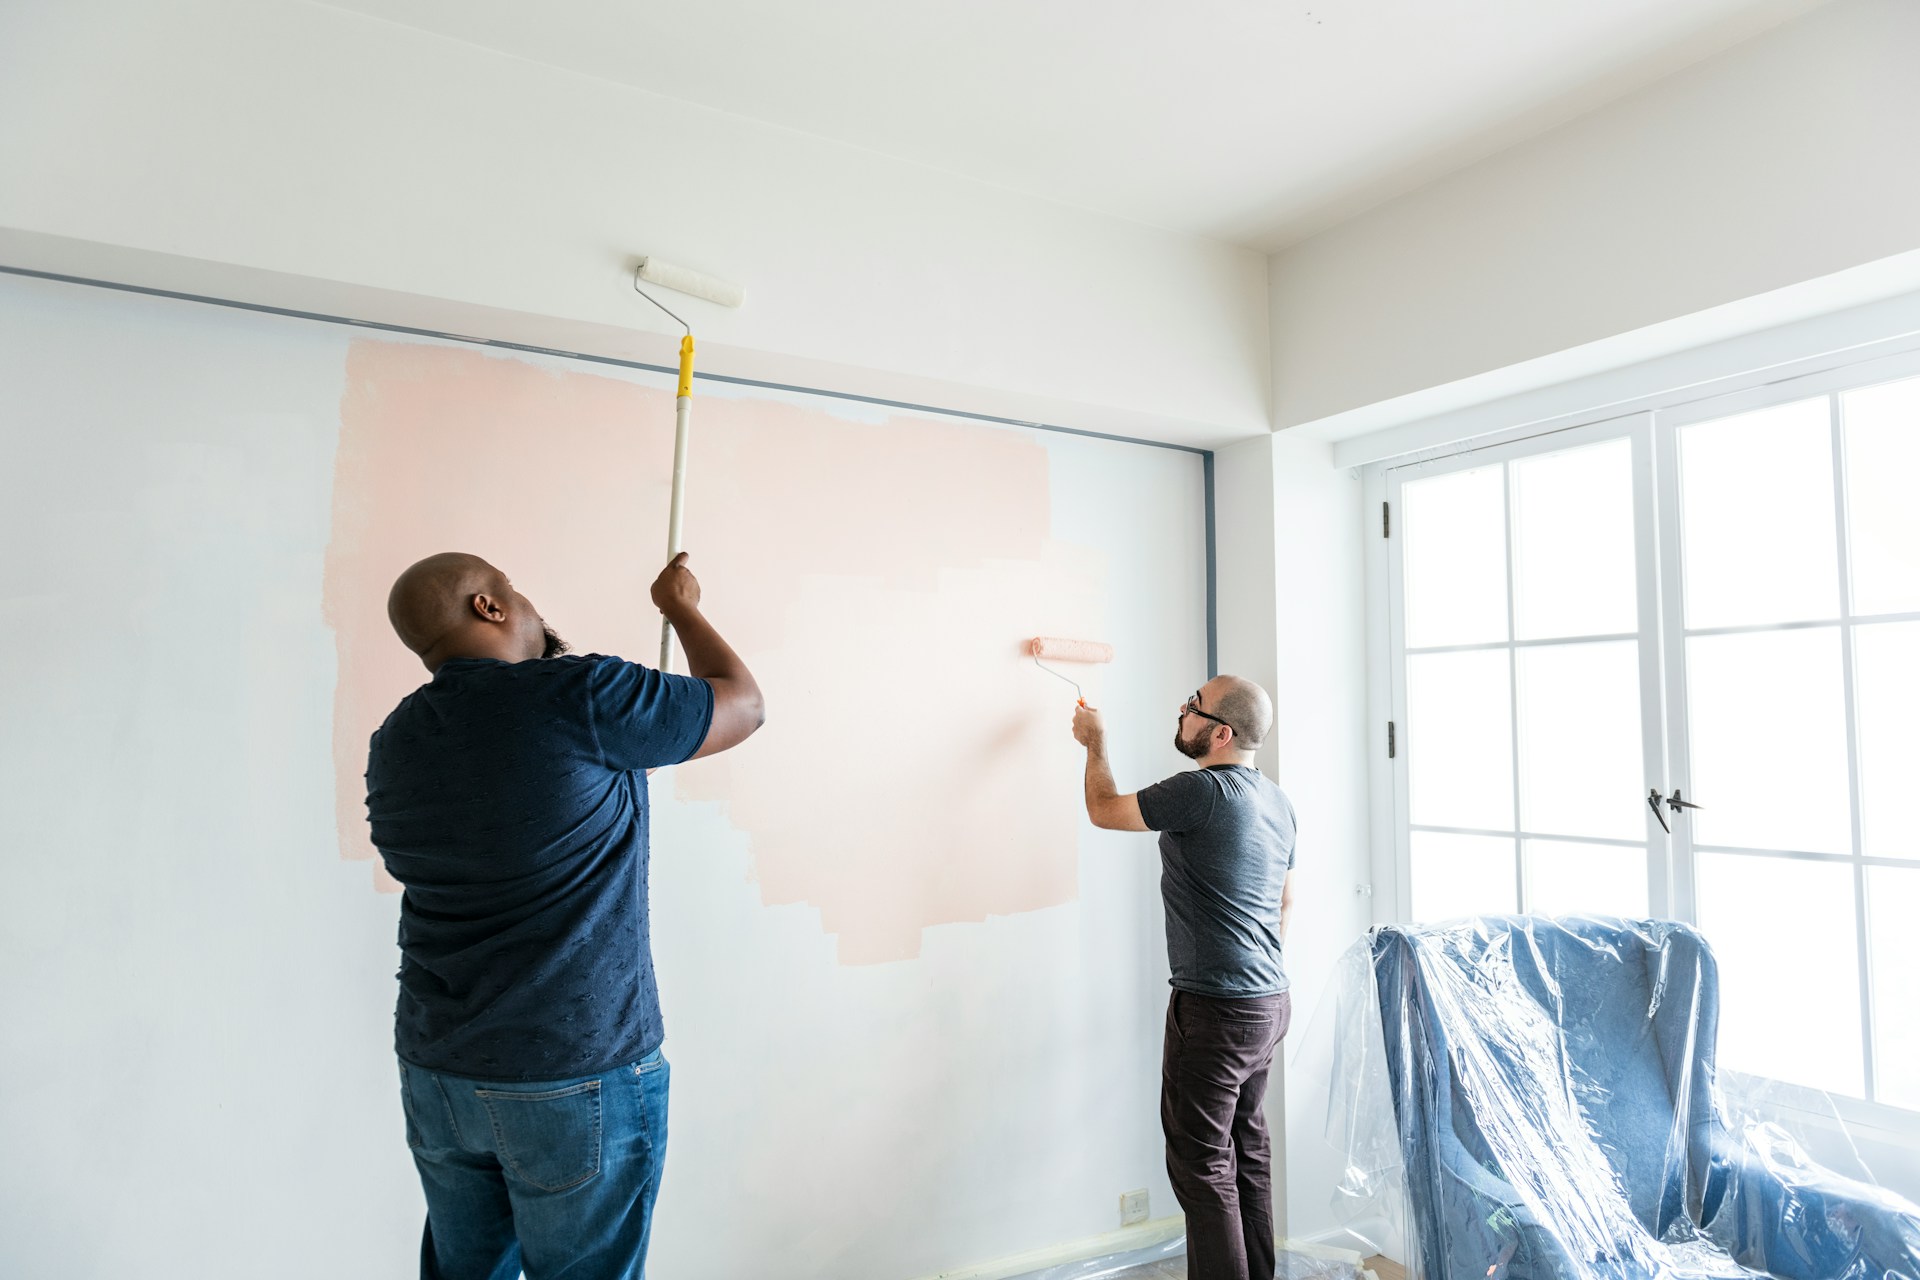
Mastering the right technique is crucial for painting trim and baseboards like a pro. Begin by “cutting in,” which means painting the edges and corners where a roller can’t reach. Use a small, angled brush for this task. Dip your brush lightly in the paint, tapping off any excess to avoid drips. Start at one end of the trim and make smooth, even strokes along the edge.
Move to the flat surfaces next. If you’re using a foam roller, load it with paint, but don’t overload; a thin, even coat is best. Roll the paint on in sections, overlapping slightly with the already-cut-in edges. Maintain a wet edge by working quickly along the length of the trim to prevent any noticeable seams.
To avoid common mistakes, remember not to rush. Applying too much paint at once can lead to runs and uneven texture. Also, ensure good lighting to spot any missed spots or runs. If you do notice any excess paint, carefully brush it out while the paint is still wet.
Take your time to check for even coverage and smooth finishes. This attention to detail will result in a professional and polished look that enhances the room’s appeal.
Finishing Touches and Clean-Up
Once you’ve applied the paint, the next step is final inspections and touch-ups. Carefully examine your work to ensure uniform coverage across all areas. Look for any missed spots or uneven paint strips and address them while the paint is still relatively fresh. Use a small brush for accurate and precise corrections.
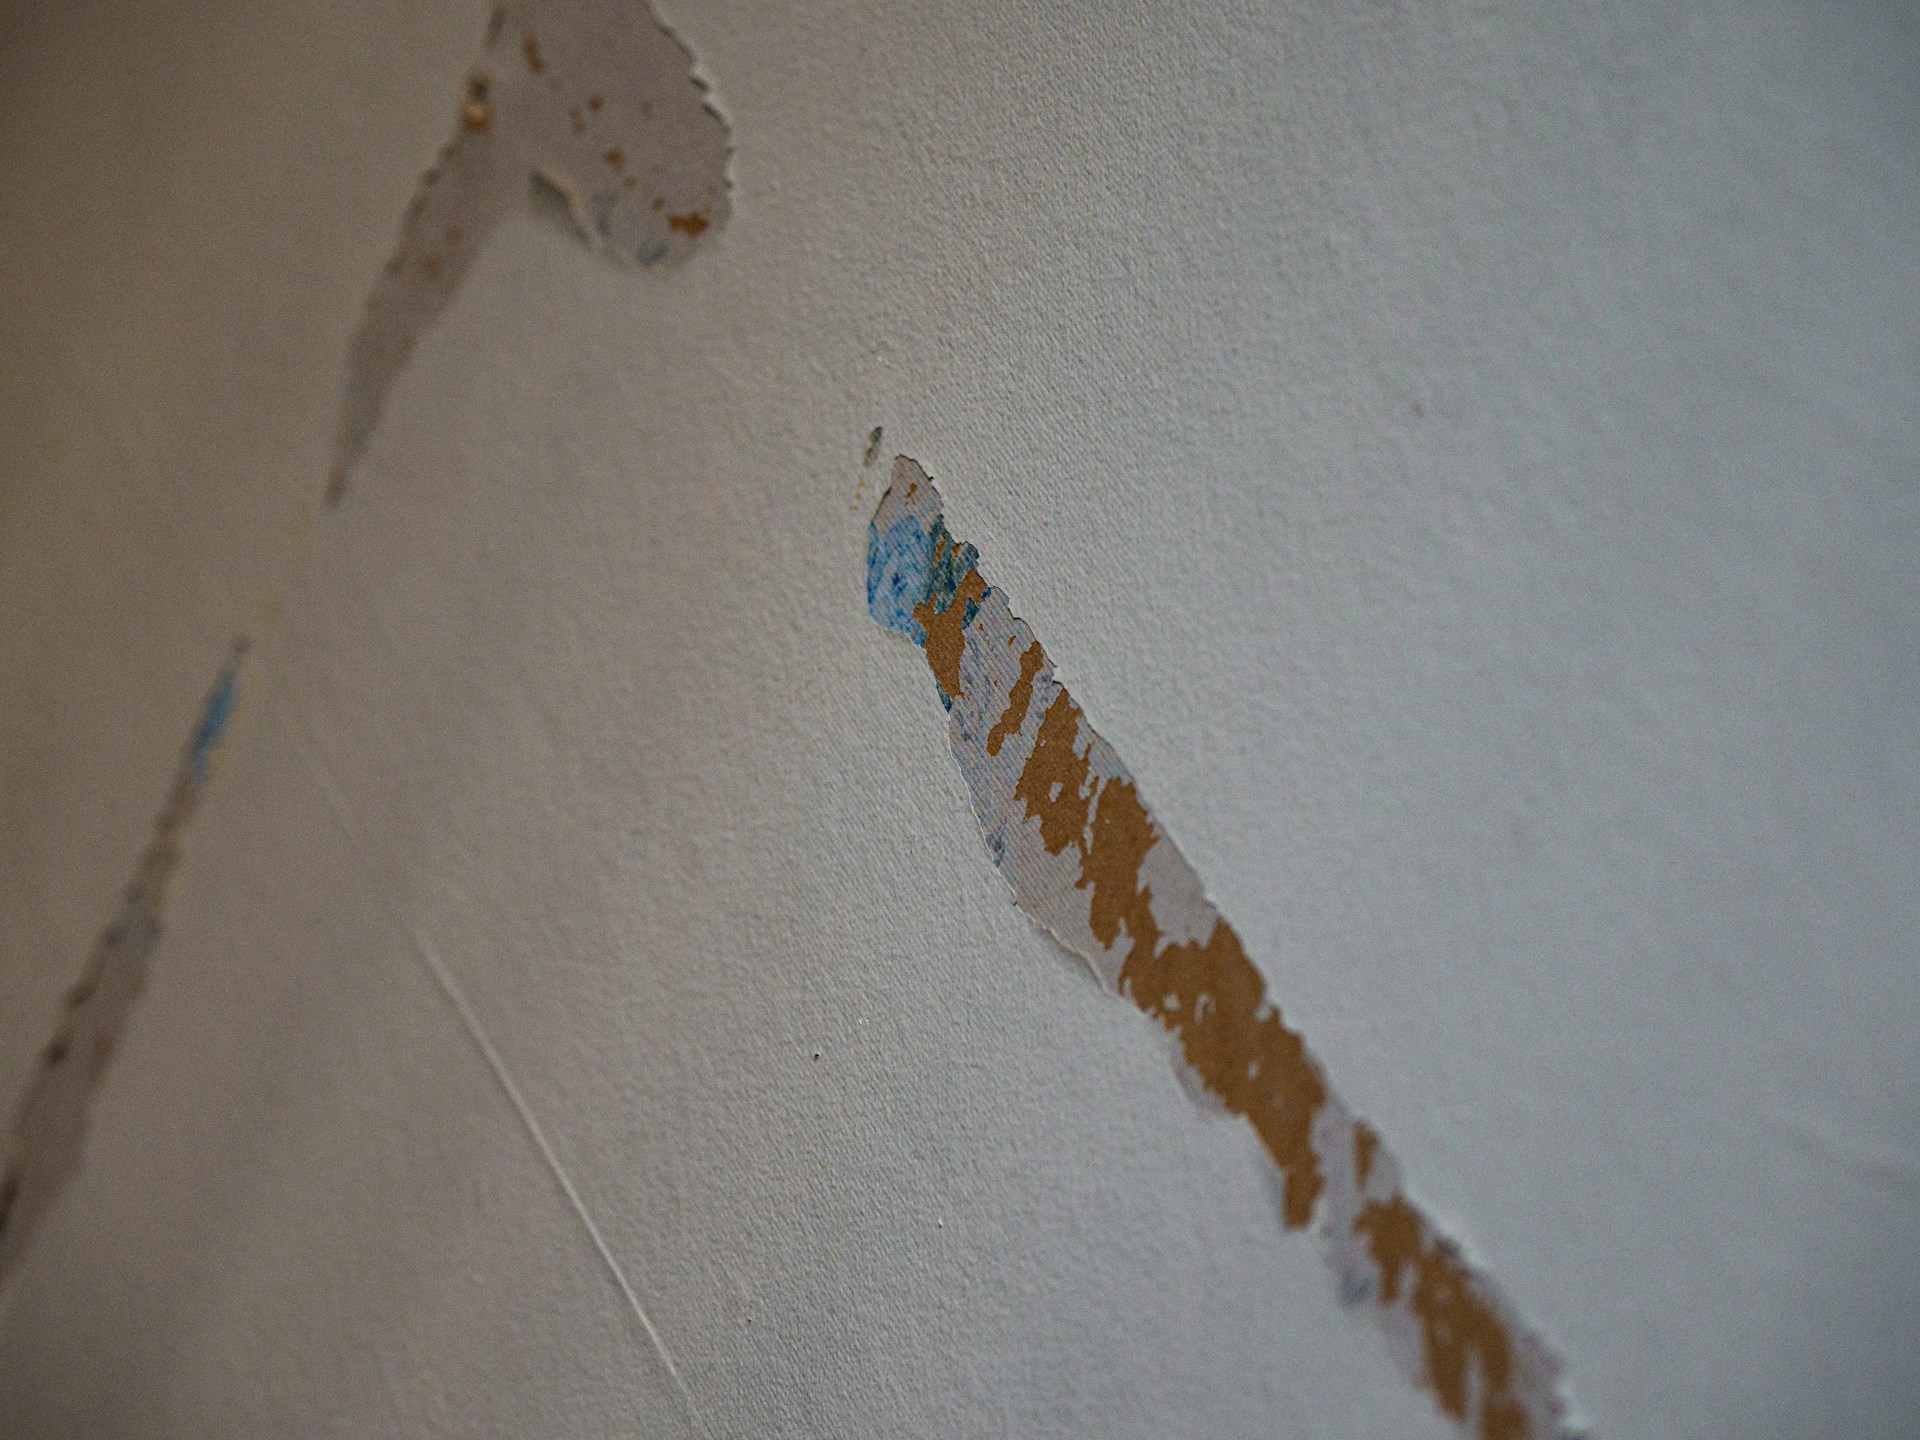
After addressing any touch-ups, it’s time to clean up. Start by carefully removing the painter’s tape. Do this when the paint is dry to the touch but not fully cured, which helps avoid peeling off any paint with the tape. Pull the tape back on itself slowly at a 45-degree angle for the best results.
Proper clean-up of your tools will extend their life. Rinse brushes thoroughly with warm soapy water and dry them flat to maintain their shape. Dispose of any used paint cans and materials properly, following local guidelines for hazardous waste.
Conclusion
Bringing your vision to life through beautifully painted trim and baseboards is completely achievable with careful preparation, the right tools, and proper techniques. These elements come together to create a finished look that elevates your space, drawing every element of the room together seamlessly.
If you’re ready to transform your home with expertly painted trim and baseboards, reach out to Alan’s House Painting today. Our team of painters in Davis, CA, is dedicated to providing exceptional results that reflect your style and meet your expectations. Whether you’re tackling a small update or a full renovation, trust us to help create a space you’ll love.