Painting your kitchen cabinets is a great way to give your kitchen a fresh and updated look without spending a fortune. A new coat of paint can transform old, worn-out cabinets into something sleek and modern. But painting cabinets isn’t as simple as slapping on some paint and calling it a day. To get a professional-looking finish, you need to follow certain steps and use the right techniques.
Living in Sacramento, we often deal with unique challenges like temperature changes and humidity that can affect how paint adheres and dries. It’s important to be aware of these factors to ensure you get a lasting finish on your cabinets. In this guide, I’ll share some of my best tips for painting kitchen cabinets like a pro, from gathering the right tools to applying a protective clear coat.
Whether you’re a first-time painter or looking to improve your skills, these tips will help you achieve a beautiful, long-lasting result. By taking the time to properly prepare and using the right techniques, you’ll end up with cabinets that look like they were painted by a professional. So grab your paintbrush and let’s get started on transforming your kitchen!
Gather All Necessary Tools and Materials
Before you start painting, make sure you have all the tools and materials you’ll need. Having everything on hand will save you time and make the process smoother.
First, you’ll need paint. Choose a high-quality paint that’s suitable for kitchen cabinets. Look for a paint that can handle the wear and tear of daily use. Semi-gloss and gloss paints are good options because they are easy to clean. You’ll also need a primer to help the paint stick better and last longer.
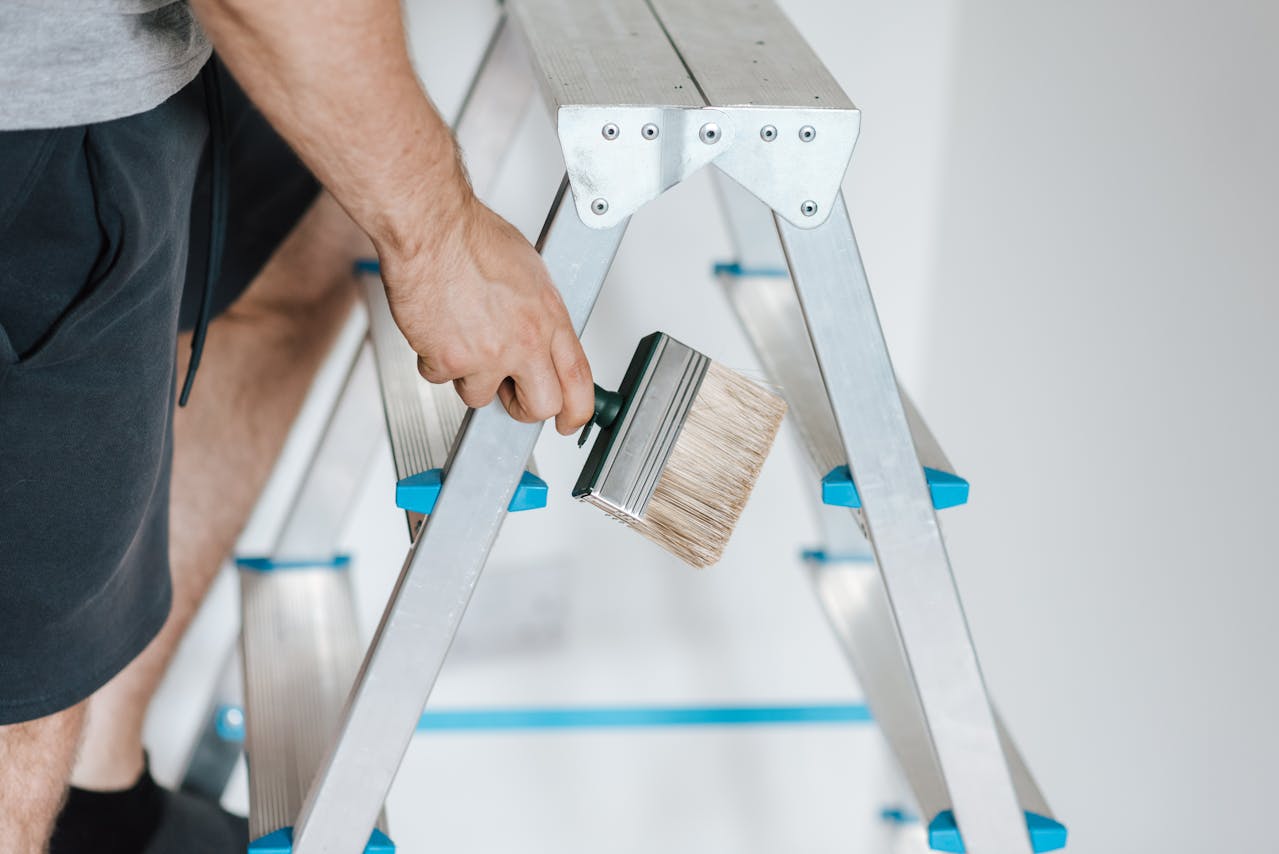
For tools, gather a variety of brushes and rollers. You’ll need a small brush to get into tight corners and a larger one for bigger surfaces. A foam roller works well for a smooth finish. Don’t forget painter’s tape to protect areas you don’t want to paint, like the edges of your cabinets.
You will also require some cleaning supplies. A good degreaser helps remove any grime from your cabinets, ensuring the paint adheres properly. Sandpaper and a sanding block are essential to smooth out the surfaces before painting. Finally, have some drop cloths or old sheets to protect your floors and counters.
Prepare and Clean Your Cabinets Thoroughly
Next, you’ll need to prepare and clean your cabinets. This step is crucial for a lasting paint job. Start by removing the cabinet doors and hardware. Label each door and its corresponding hardware to make reassembly easier.
Clean the cabinets thoroughly. Kitchens can be greasy and dirty, so you’ll need a strong cleaner. Use a degreaser to remove all the grime from the cabinet surfaces. This will help the primer and paint adhere better. Make sure to rinse off any cleaner residue with water and let the cabinets dry completely.
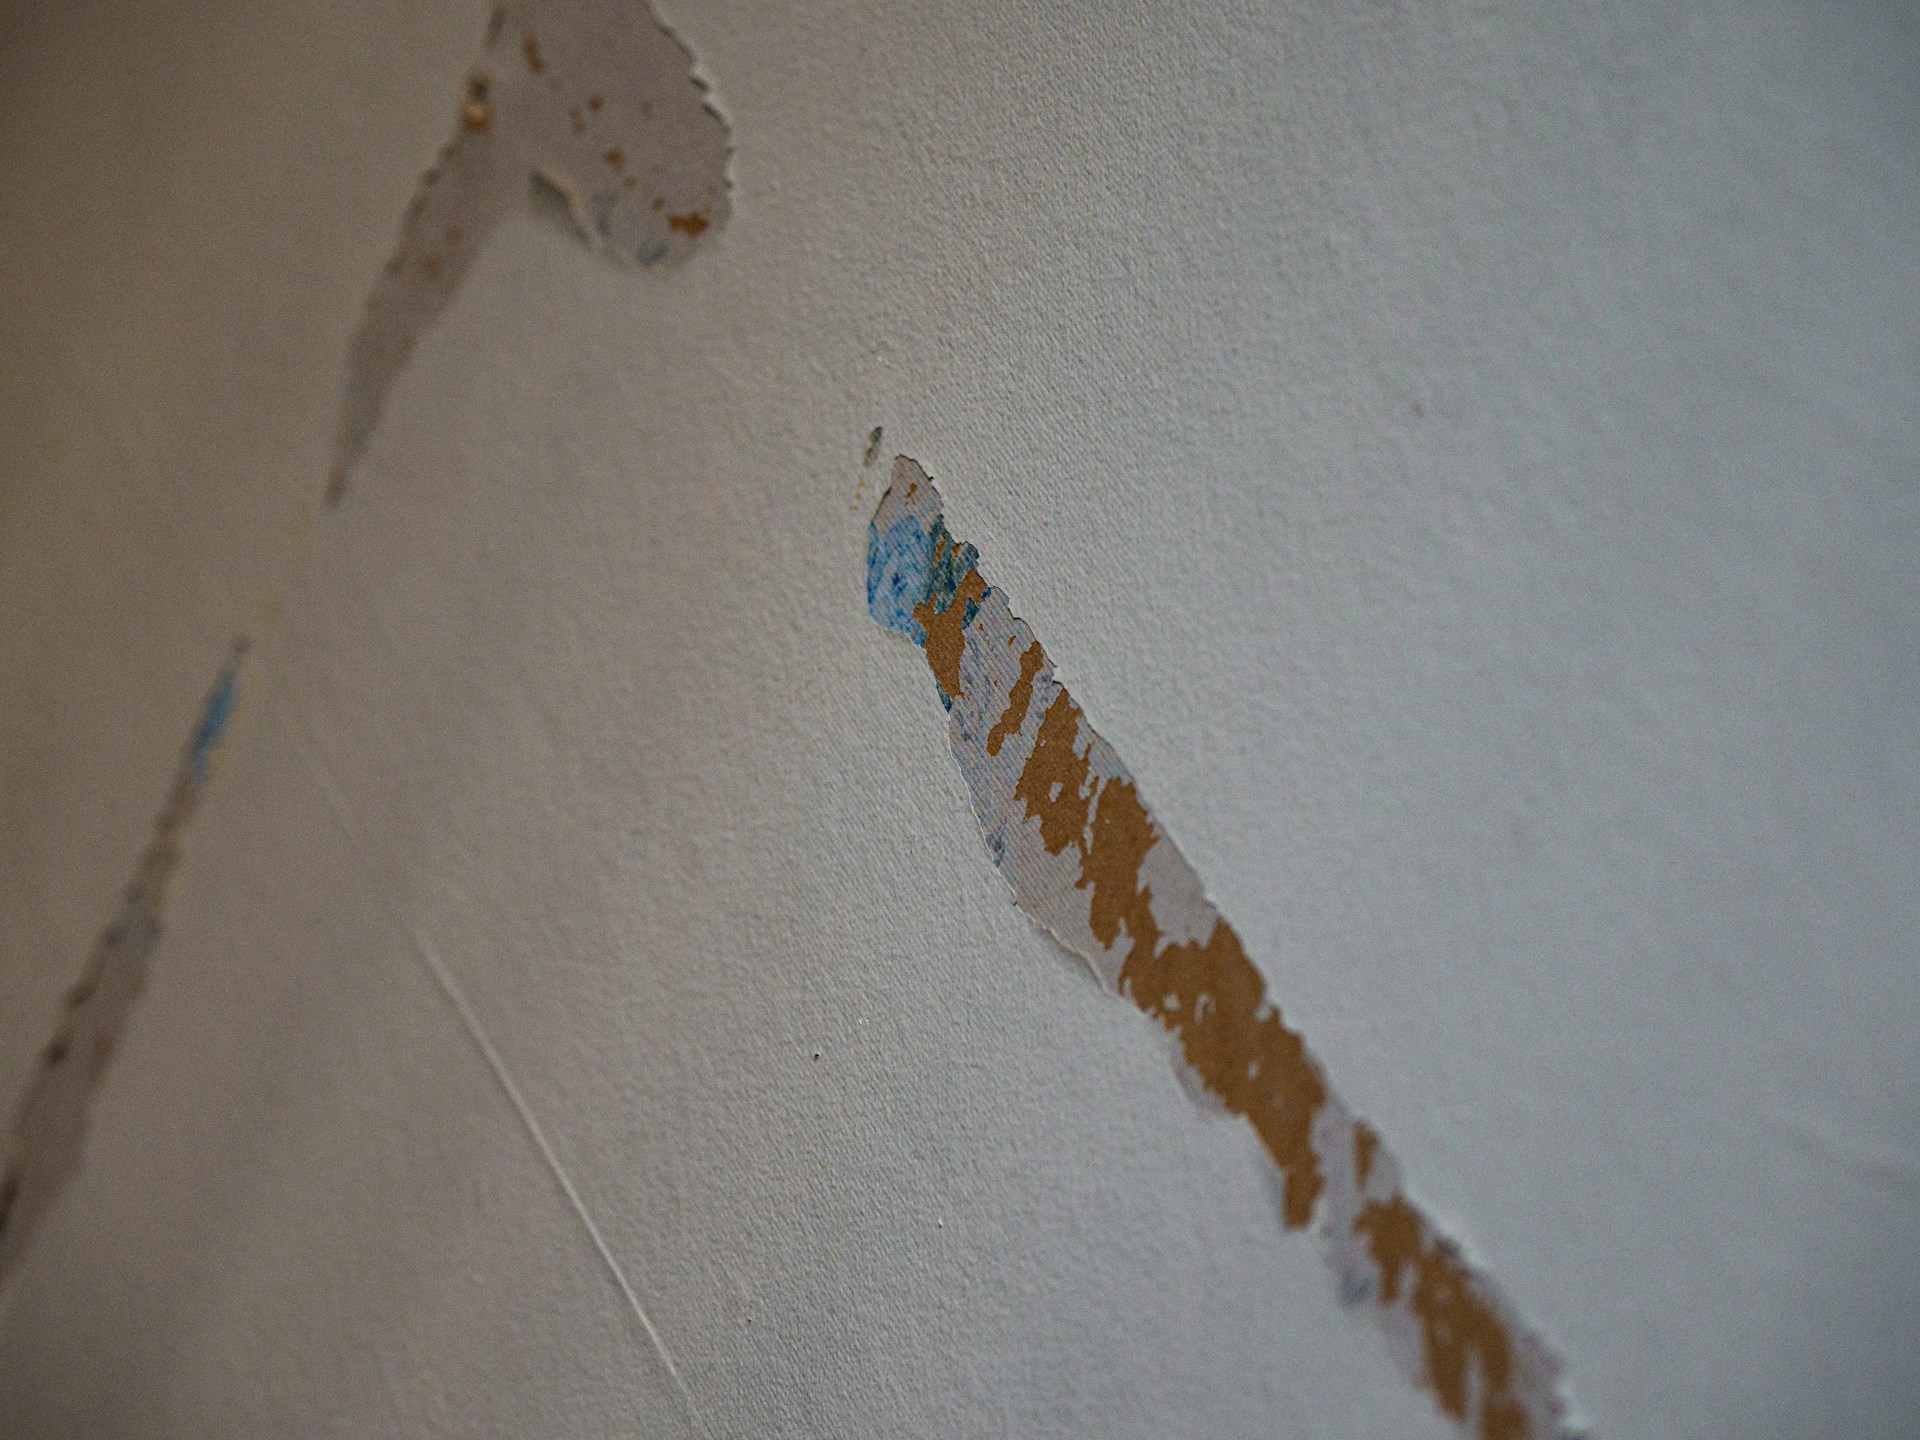
Once the cabinets are dry, it’s time to sand them. Sanding helps create a rough surface for the primer to stick to. Use medium-grit sandpaper for this step. Focus on any rough or glossy areas to ensure the primer sticks well. After sanding, wipe down the cabinets with a damp cloth to remove any dust.
By gathering all your tools and thoroughly preparing your cabinets, you’ll set the stage for a successful painting project. These steps ensure that your paint job will look great and last a long time.
Apply Paint Evenly and Consistently
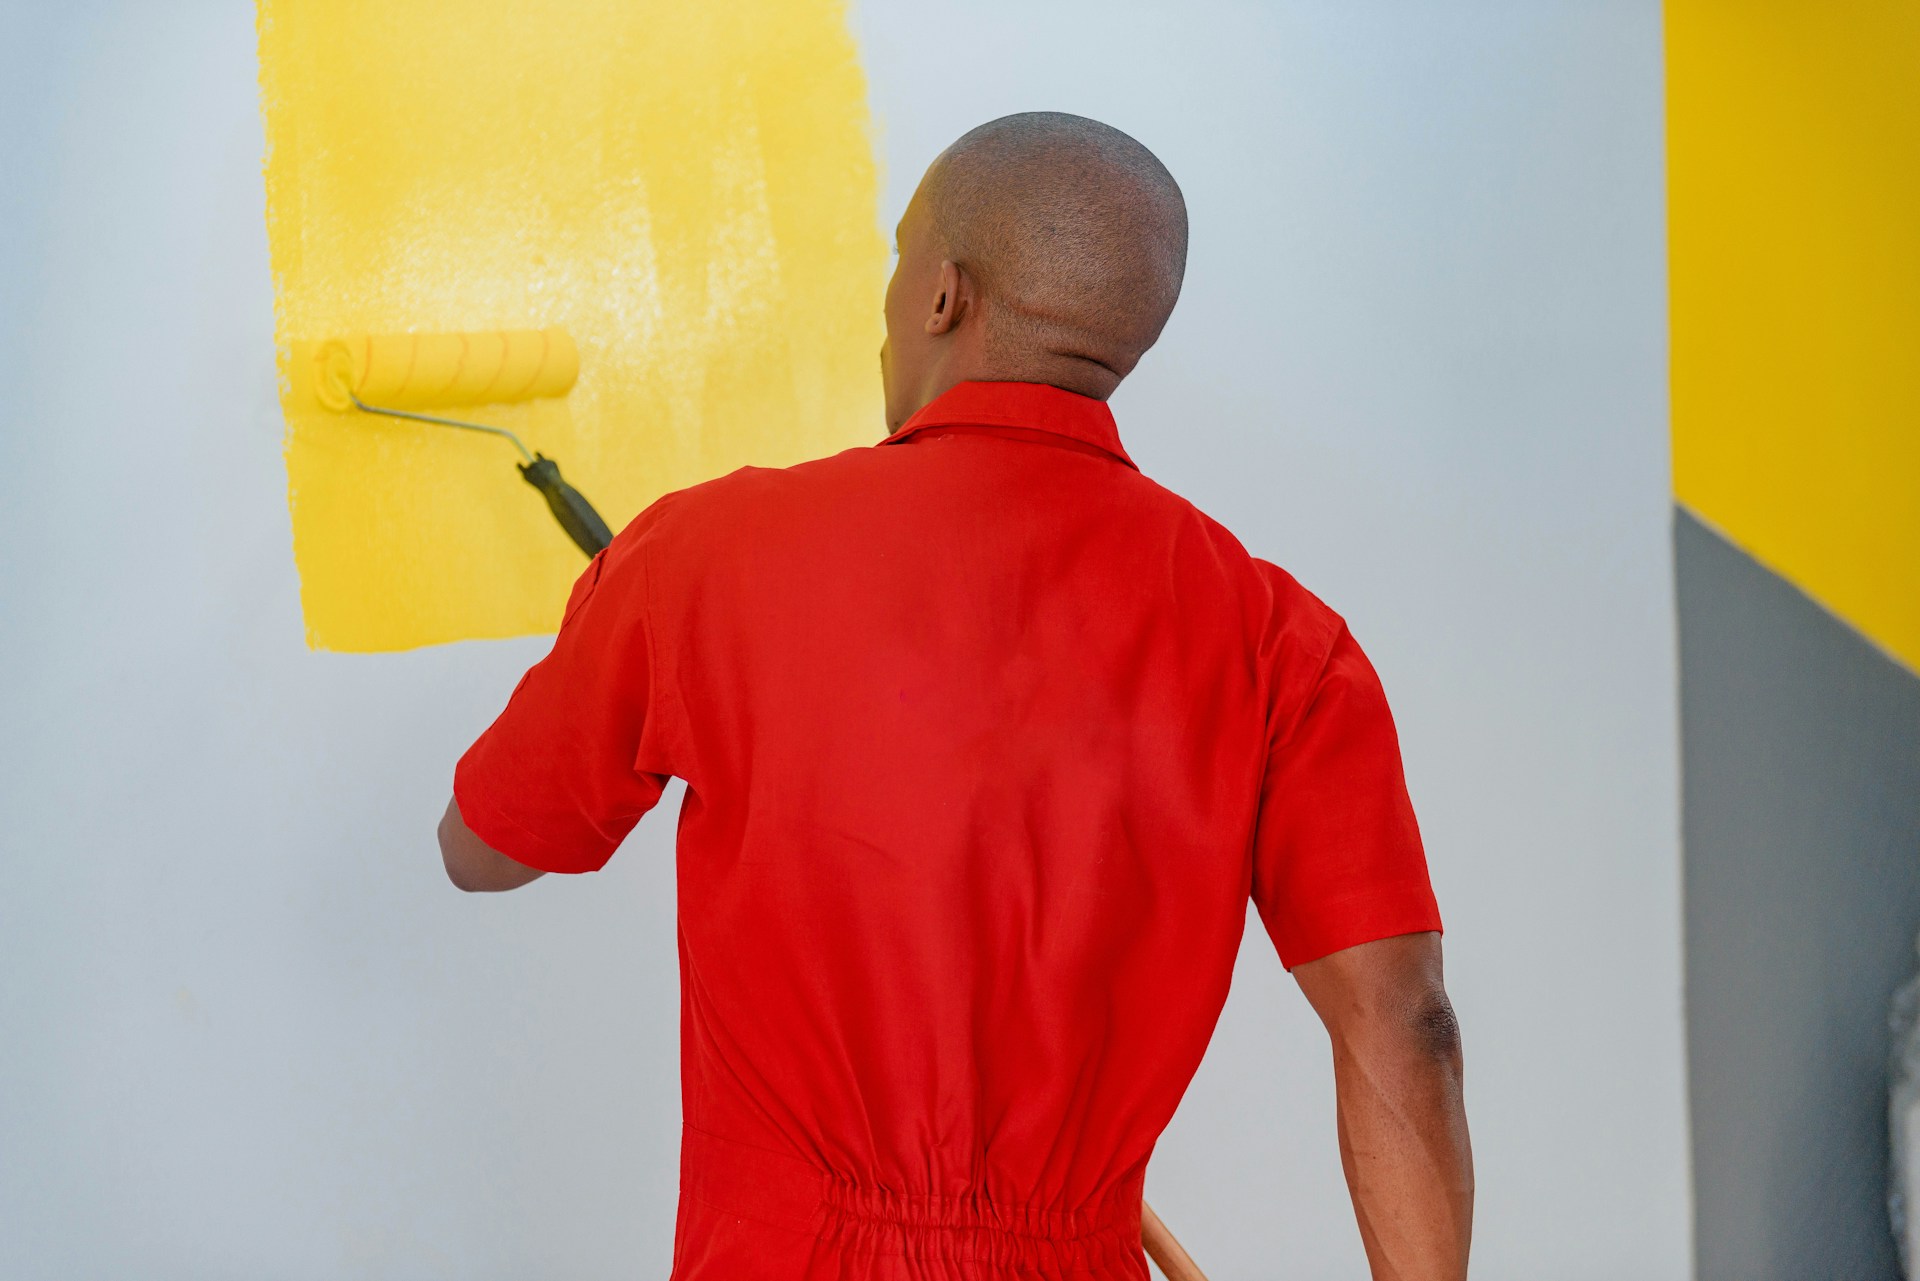
Now it’s time to paint your cabinets. Applying the paint evenly and consistently is crucial for a professional finish. Start by stirring the paint thoroughly to ensure the color is mixed well. Using a foam roller for larger areas and a brush for corners and edges is a good technique.
Begin with a light coat of paint, using smooth, even strokes. Don’t overload your brush or roller; too much paint can cause drips and streaks. Apply the paint in thin layers, allowing each coat to dry completely before adding another. This might take a little more time, but it ensures a smoother and more durable finish.
Pay attention to any missed spots and touch them up as you go. It’s better to build up the color with multiple thin coats rather than one thick coat, which can lead to an uneven appearance. Once you’ve painted all surfaces, let everything dry completely as per the paint manufacturer’s instructions.
Finish with a Protective Clear Coat
After painting, a protective clear coat will help seal and protect your newly painted cabinets. This step is especially important in a kitchen where cabinets are exposed to moisture, grease, and frequent use. A clear coat will help prevent chips, scratches, and stains, keeping your cabinets looking fresh for longer.
Choose a clear polyurethane finish or a water-based polycrylic, depending on your preference. Polyurethane offers a durable finish but may yellow over time, while polycrylic is clear and won’t yellow. Apply the clear coat with a clean brush, using long, even strokes to avoid any bubbles or streaks.
Allow the first coat to dry completely, then gently sand with fine-grit sandpaper to smooth out any imperfections. Wipe away the dust and apply a second coat for added protection. Follow the instructions for drying times, and make sure the clear coat is fully cured before reassembling your cabinets.
Conclusion
Painting your kitchen cabinets can transform the look of your kitchen, making it feel new and refreshed. By gathering all the necessary tools, preparing and cleaning your cabinets thoroughly, using proper techniques for sanding and priming, applying paint evenly, and finishing with a protective clear coat, you can achieve a professional-quality finish that lasts.
Taking the time to do each step carefully will pay off in the long run, leaving you with beautifully painted cabinets that enhance your kitchen. If you feel uncertain about any step, or simply want a perfect finish, contacting professionals can save time and effort.
Ready to give your kitchen a facelift? As your trusted house painter in Davis, CA, Alan’s House Painting is here to help! Call us today to schedule a consultation and let’s transform your kitchen into a brand-new space.


